Mastering cluster lashes: Tips for a flawless application
In the realm of beauty, false eyelashes have become an essential part of makeup routines, providing a simple method to enhance a makeup appearance. With the rising popularity of false eyelashes, the market has broadened to include numerous choices suited to all styles and tastes. Individuals have shifted from strip lashes to individual and DIY lashes. If you’re looking for a way to achieve bold, voluminous lashes without the hassle of individual lash extensions, cluster lashes might be the perfect solution. DIY cluster lashes have gained popularity among beauty enthusiasts due to their convenience, affordability, and dramatic effect.
DIY lashes
Unlike individual lashes, which are applied one by one, and strip lashes, which are applied as a full strip, cluster lashes come in small groups. These lashes resemble strip lashes but are cut into smaller sections. These lash clusters can vary in length, volume, and curl, making them versatile for different eye shapes and desired effects. They can be used to create various looks, from natural and subtle to bold and glamorous.

Why choose cluster lashes?
1. Quick and easy application
One of the primary benefits of these lashes is their straightforward application. As several lashes are connected to one base, you can span a broader section of your lash line in a shorter amount of time when compared to individual lashes. This renders them an excellent choice for individuals seeking a speedy beauty routine.
2. Customizable volume
With these lashes, you have control over how dramatic or natural your lashes look. You can add a few clusters for a subtle enhancement or stack multiple clusters for a bold, voluminous effect. This flexibility allows for a customizable look that suits any occasion.
3. Reusable and cost-effective
High-quality DIY cluster lashes can be used multiple times with proper care. This makes them a more budget-friendly alternative to lash extensions, which need professional application and ongoing upkeep.
4. No long-term commitment
Unlike individual lash extensions, which require frequent fills to maintain their look, DIY lashes can be removed at the end of the day or worn for a few days, depending on the adhesive used. This is perfect for those who love switching up their look frequently.

Step-by-step guide to applying cluster lashes
Step 1: Gather your tools
To apply DIY cluster lashes, you’ll need a set of lashes, tweezers, lash adhesive (temporary or semi-permanent), scissors (optional for trimming lashes), and a mirror.
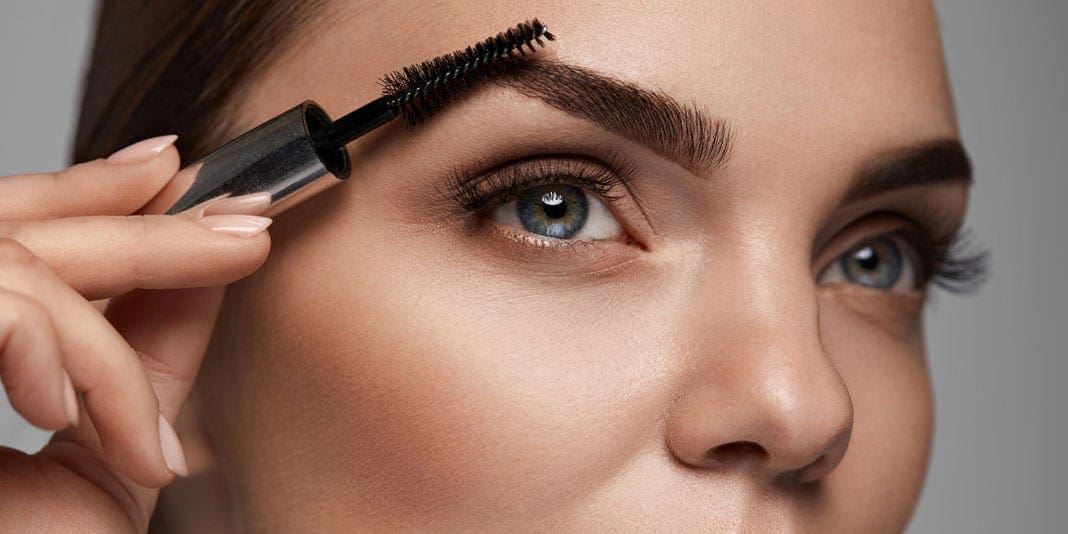
Step 2: Prepare your natural lashes
Before applying the lashes, ensure your natural lashes are clean and free of makeup or oils. Curl your natural lashes slightly and apply a light coat of mascara for better blending.
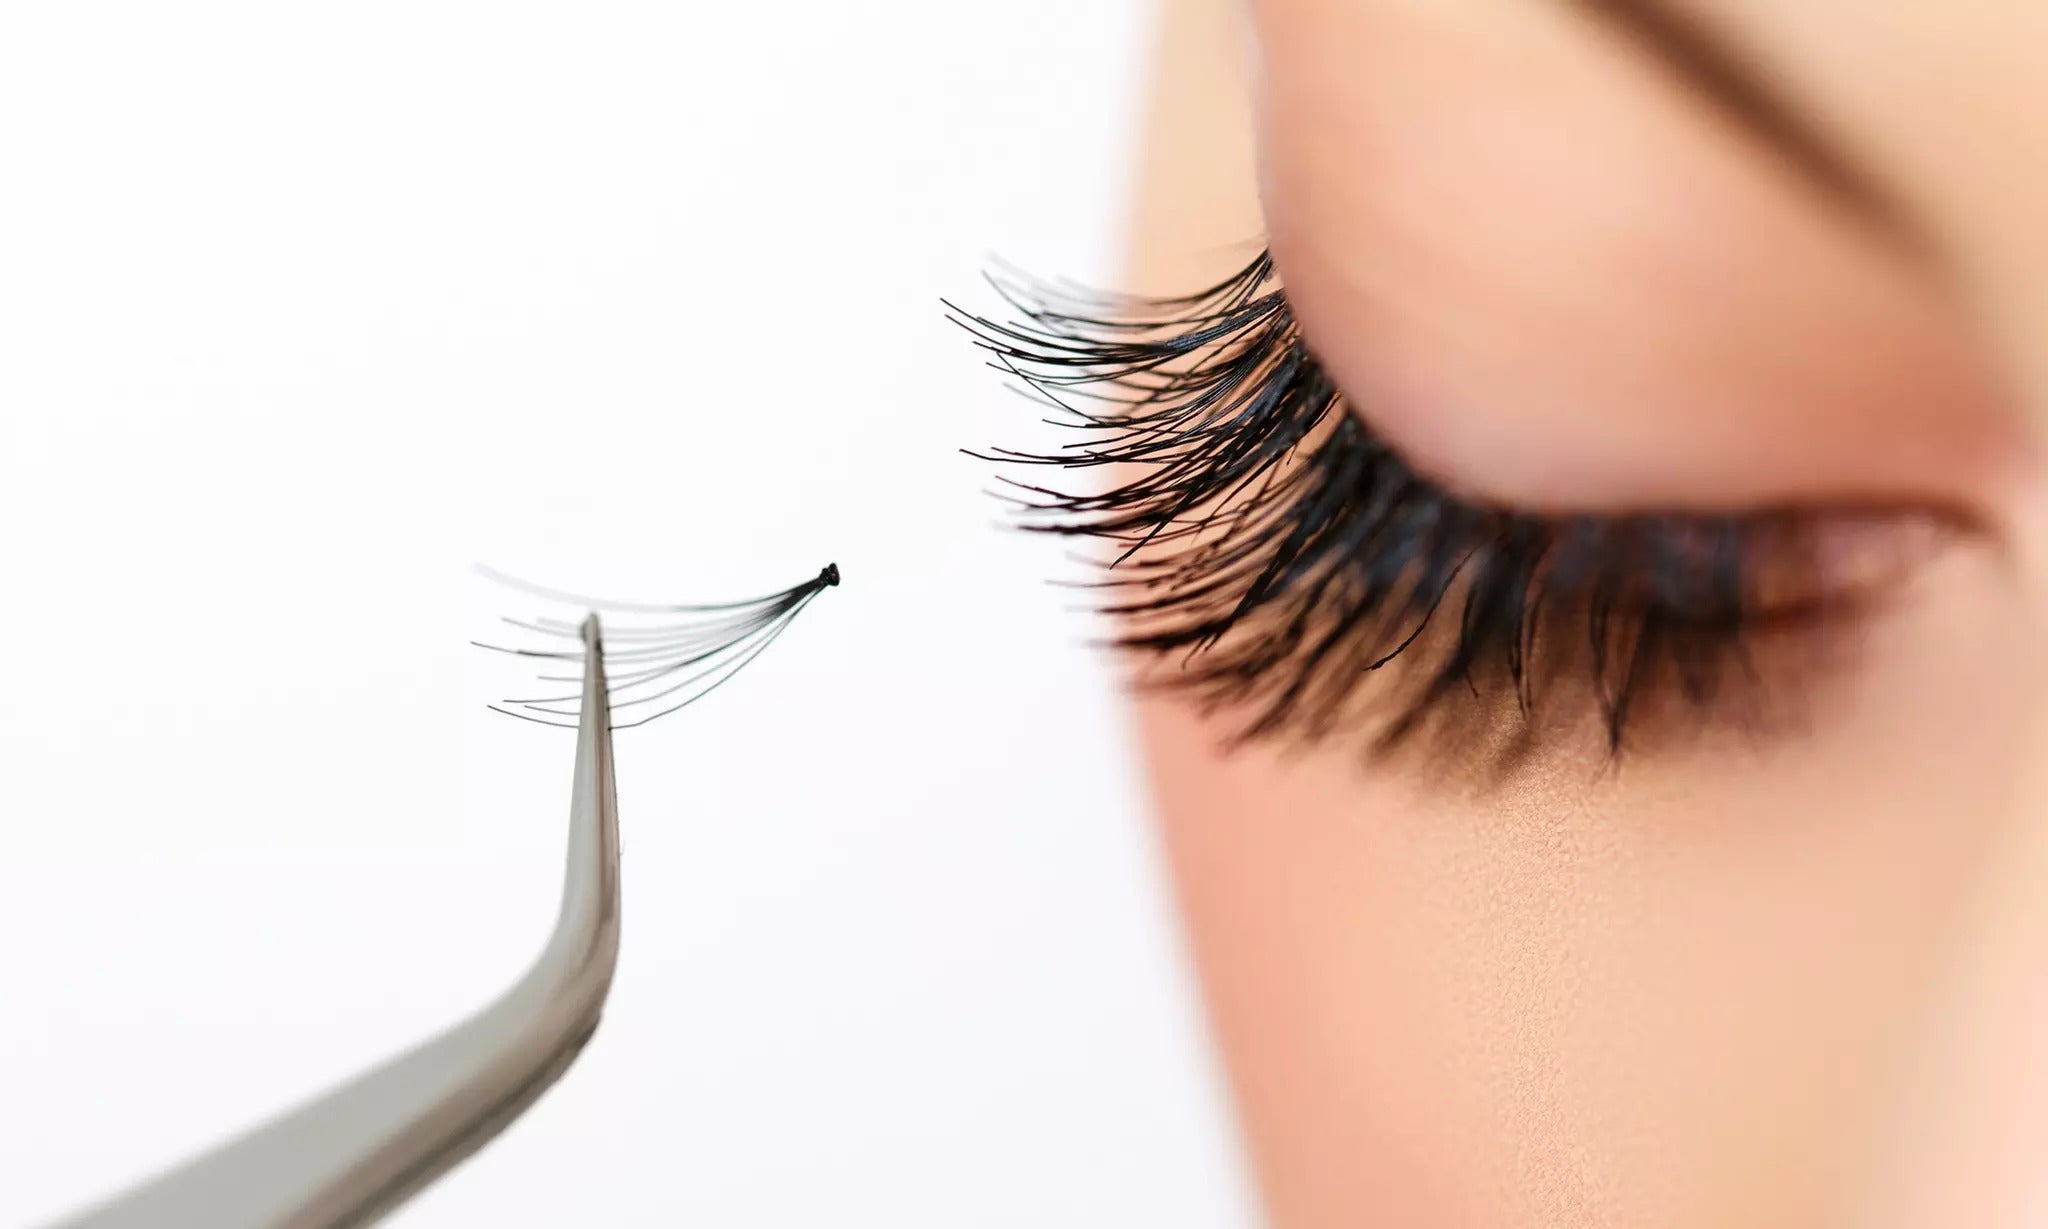
Step 3: Apply the adhesive
Using tweezers, pick up a lash cluster and dip the base into a small amount of lash adhesive. Wait a few seconds for the glue to become tacky before application.
Step 4: Attach the clusters
Starting from the outer corner of your eye, place the lash slightly above your natural lashes, close to the lash line. Press gently and hold for a few seconds to ensure proper adhesion. Continue adding clusters along your lash line until you achieve the desired fullness.
Step 5: Blend and adjust
Once all clusters are in place, use your tweezers or fingers to gently press the lashes and your natural lashes together for a seamless blend. You can also apply a thin line of eyeliner to hide any gaps.

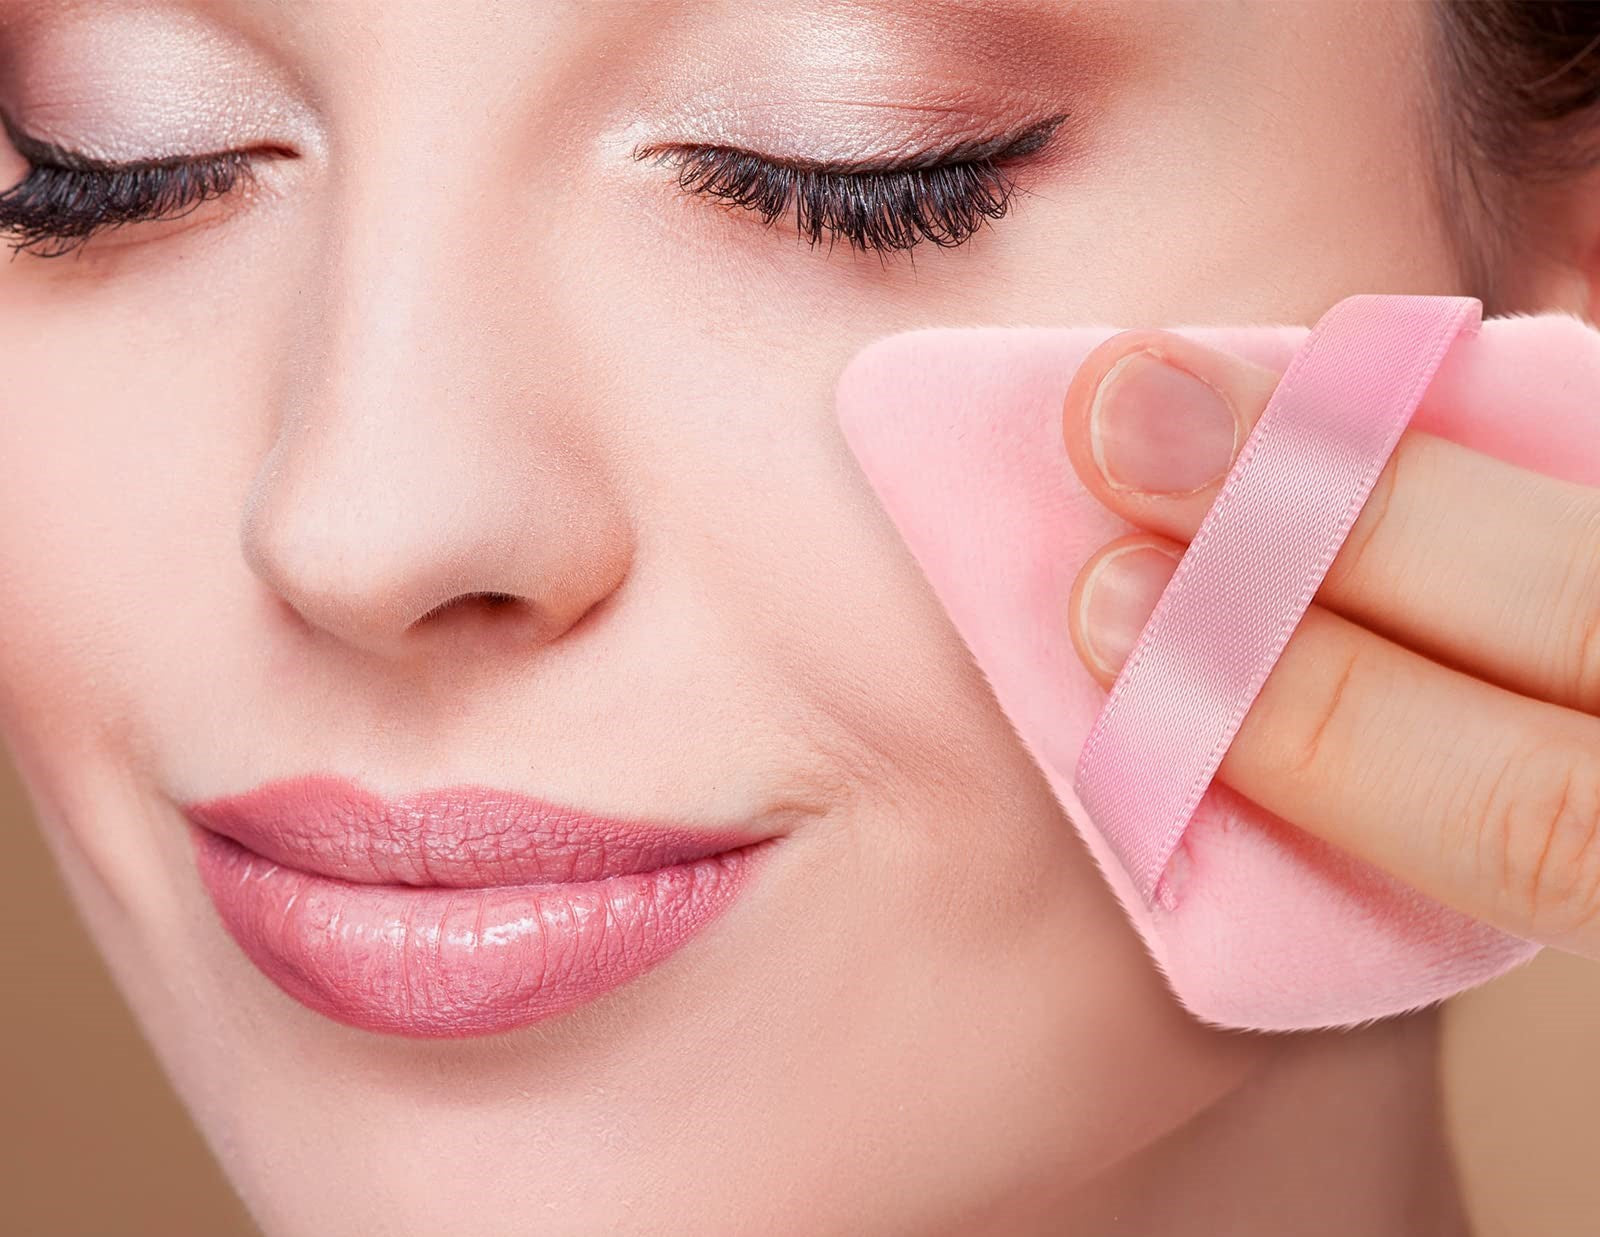
How to remove cluster lashes
Removing lashes properly is crucial to avoid damaging your natural lashes. Soak a cotton pad in an oil-based makeup remover or lash adhesive remover. Hold the soaked pad over your closed eyes for 30 seconds to loosen the glue. Gently slide the clusters off using tweezers or your fingers. Cleanse your natural lashes to remove any remaining adhesive residue.
Common mistakes when applying lashes and how to prevent them
Applying DIY lashes can create a stunning appearance, but there are several errors you should avoid to maintain their beauty:
Too much adhesive isn’t advantageous. It can cause lashes to clump or irritate your eyes. Use just a small amount for comfort and security. Avoid placing clusters too close to your eyelid—they can be uncomfortable and damage natural lashes. Position them slightly above the lash line for comfort and a natural appearance. Dirty or oily lashes can interfere with the glue. Begin with clean, dry lashes for optimal results. Use smaller clusters at the inner corners and larger ones at the outer edges for a natural, flattering lash line. Expired glue does not adhere well. Ensure your adhesive is fresh for the best hold.

By avoiding these mistakes, you’re prepared to enjoy long-lasting, beautiful lashes. Remember, practice enhances skill, so continue honing your technique and showcasing your fabulous lashes with confidence.
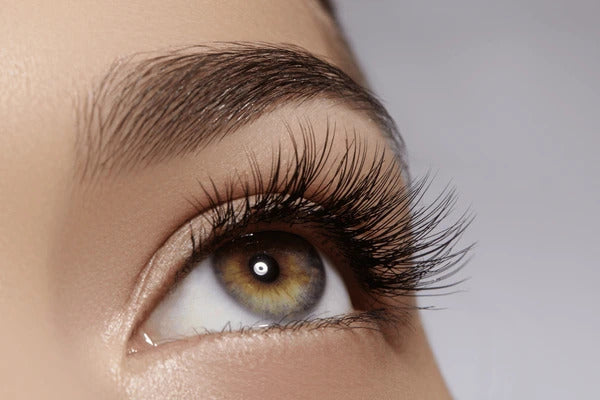
Cluster lashes are a fantastic way to achieve a dramatic, voluminous look without the commitment of lash extensions. Their ease of application, affordability, and versatility make them an excellent choice for anyone looking to enhance their eyes effortlessly.
By following proper application and removal techniques, you can enjoy beautiful, long-lasting lashes while keeping your natural lashes healthy. So why not give these lashes a try and take your lash game to the next level?